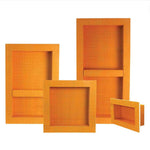
Schluter-DILEX mortar bed movement joint profiles are designed to allow movement at joints in tiled assemblies installed on a mortar bed (e.g. ceramic tiles, natural stone, paving stones, agglomerate tiles). These profiles divide the tile surface into individual sections. They feature flexible central areas to allow movement. DILEX mortar bed movement joint profiles can also be inserted into saw cuts or wider joints in the case of renovations. The remaining space between the tile and the profile must then be completely filled with grout or epoxy. The side walls of the profiles, made of rigid PVC, protect the edges of the adjacent ceramic tiles from mechanical stress caused by intense industrial traffic. However, in places where heavy mechanical stress is expected, the limitations of PVC as protection for tile edges must be taken into consideration.
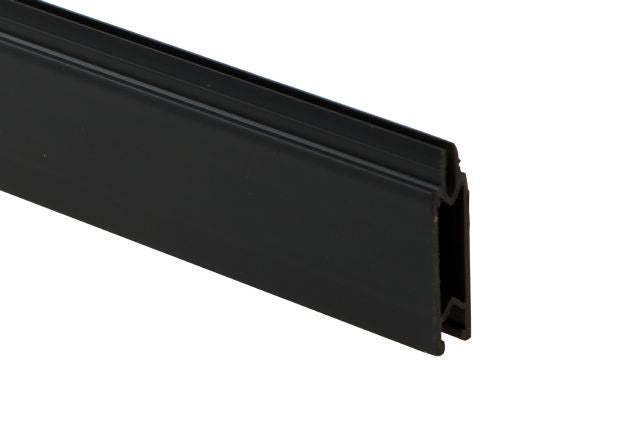
Schluter-DILEX-MP adjusts to the thickness of the mortar bed as well as the tiled surface using DILEX-MPV extensions. The profile has a central movement zone made of flexible chloride polyethylene (CPE) which covers approximately 1/32" (1 mm) of the recycled rigid PVC side walls, which constitutes a more aesthetic exposed surface than that of the DILEX-MOP profile.
Maintenance: The DILEX-MP profile requires no special care or maintenance and is resistant to mold and fungus. Clean the profile using a common household cleaning agent.
Facility :
1. Select the profile according to the thickness of the assembly. For DILEX-MP, attach the necessary extension cables (-MPV).
2. Place the profile against the edge of the tiles already made. Completely press the side part of the profile into the mortar.
3. Lay the tiles so that they are flush with the upper part of the profile. The side part of the profile must be completely recessed.
4. Completely fill the remaining space between the profile and the covering with grout or mortar.
Note on joint repair: Prepare the width and depth of the joint adequately and insert the profile into the joint. Fill the space between the profile and the tiles with grout, epoxy or mortar.
- Designed to allow movement and reduce mechanical stress in large tiled areas
- Avoid having to use caulk
- Prevents cracking and peeling of tiles
- Allows movements in a tiled covering installed on a bed of mortar